This how-to was done on a late ’99 SC 3-door. The same basic
methods of removal should work for many other trim pieces,
as identical mounting pieces are used on many other pieces
of trim. The trim piece should be identical to those on all
’97-’99 SC’s, despite the lack of the 3rd door on all but
late ‘99’s.
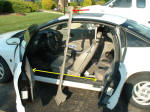
This is the piece that I am discussing (red arrow). It is
from the inside, along the bottom of the door opening
(yellow arrow).
Removal is simple, but be patient so you don’t break the
trim.
Start at the front of the trim (near the pedals). Get a
solid grip around the large piece of the trim under the
dash, and give a constant, solid pull. Sudden yanking may be
more likely to cause the trim to break, and the closer you
can grip to the trim mounting pieces, the better.
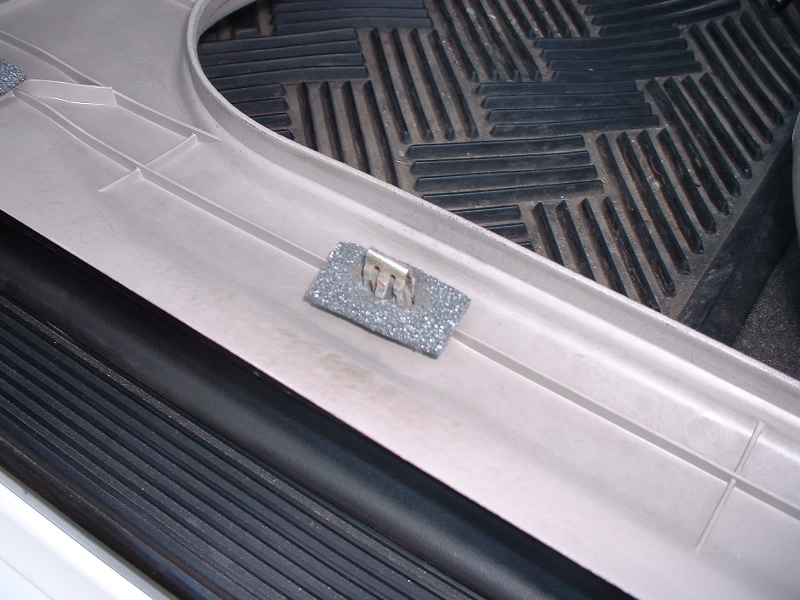
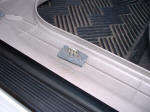
This is what the mounting pieces look like. They are a metal
clip with foam around them. They are reusable, so be nice to
them.
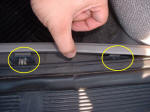
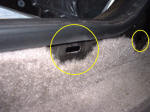
They mount into holes like this:
When the front end of the trim comes loose, you will simply
work your way back along the trim and pull each of the
mounting pieces loose, one by one. Remember to grip as close
as you can to the mounting pieces to reduce the chances of
breaking the trim.
When you get all the mounts loose, the whole piece will
slide forward just a bit to come out from under the rear
seat. Congrats, you just removed the trim!
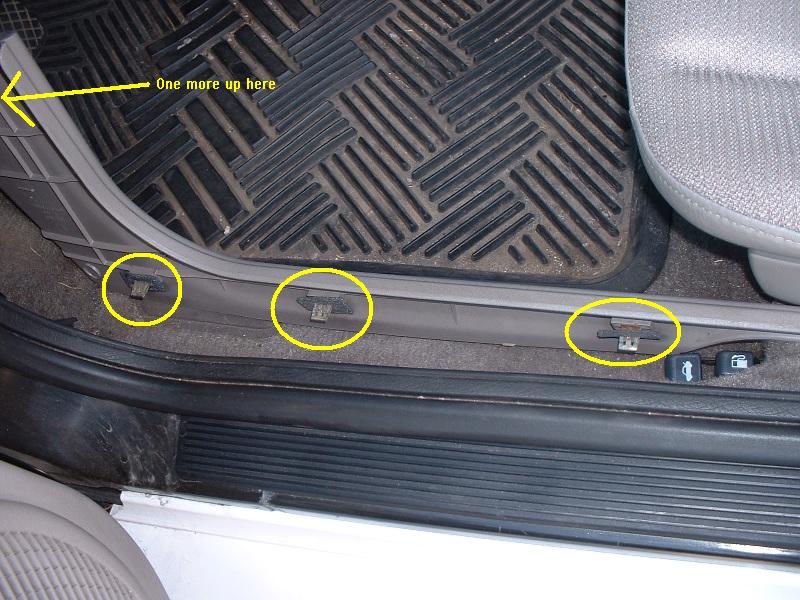
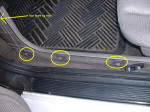
Below are a few reference pictures to see where to expect
mounting points.
3 near the floor in front of the seat, 1 up high on the
kickplate area…
one beside the seat (along with a notch for the seatbelt
mount)…
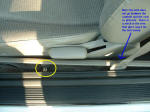
and 2 more between the front and rear seats.