Needed:
Tools:
Phillips screwdriver
Flathead screwdriver
Removal
Step 1:
Remove map
light cover.

Step 2:
Remove sun visors. This
will loosen up the headliner a bit, giving some space you'll
need later.

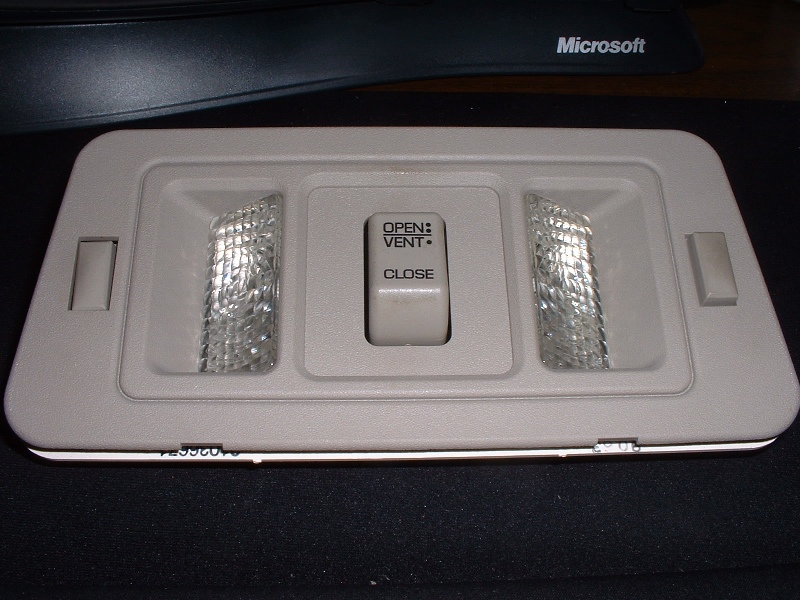
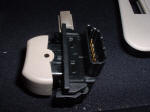
Step 3:
Remove sunroof
switch. This may not be absolutely necessary, but
the wiring for this switch is fairly tight, so it's probably
easier to just take it out first.
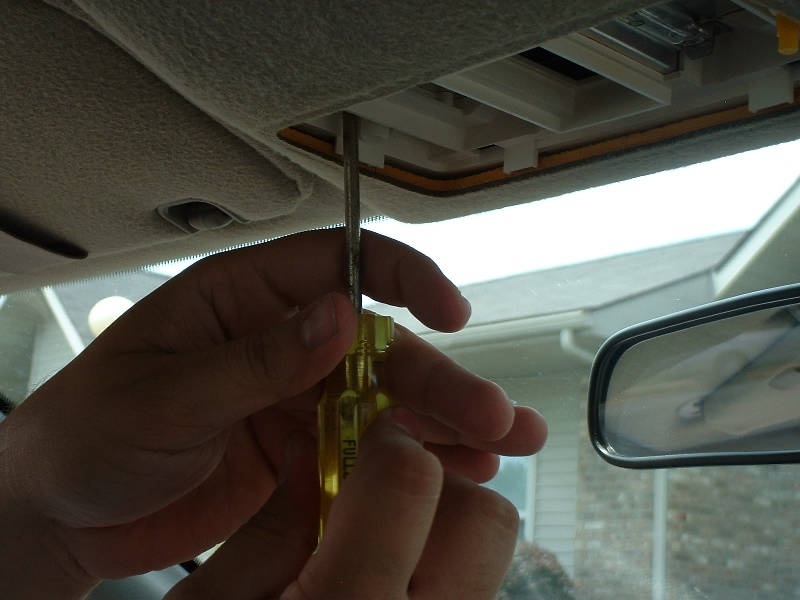
Step 4: Remove one phillips
screw on the driver's side. You'll probably have to look
almost straight up to notice it, but it's there.

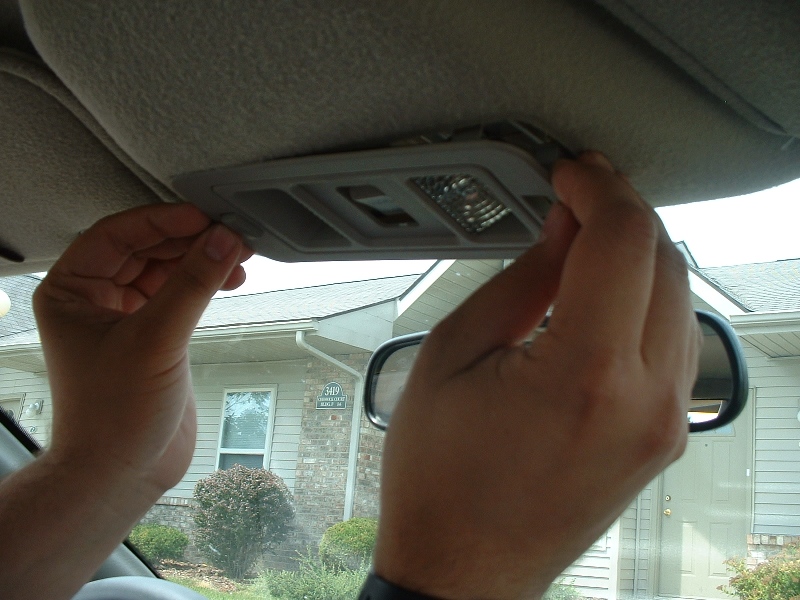
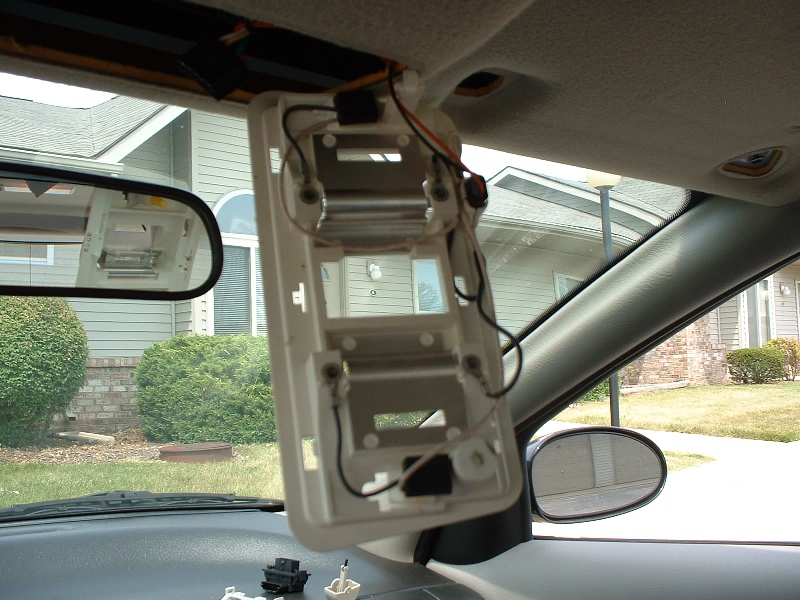
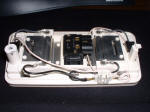
Step 5: Wiggle the assembly
out of the headliner. GENTLY pull down a bit on the
headliner to get enough clearance to twist & angle the piece
out. There will be some wires attached.


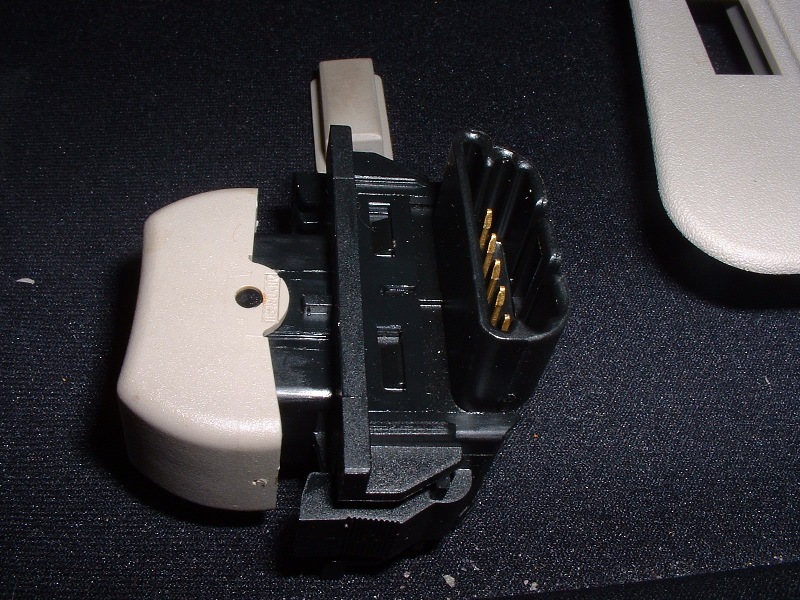
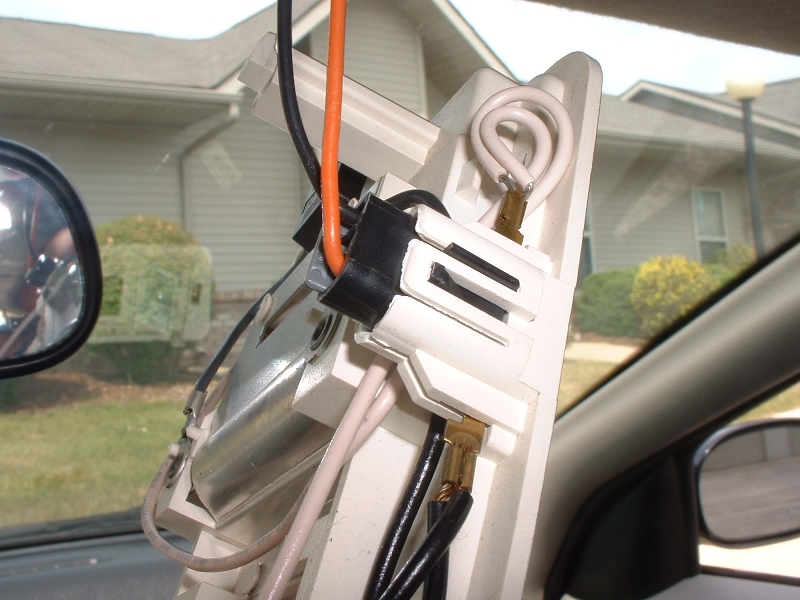
Step 6: Unplug the wiring
harness. You'll have to pry the clip to get it to
release.


Installation is
the reverse of removal.