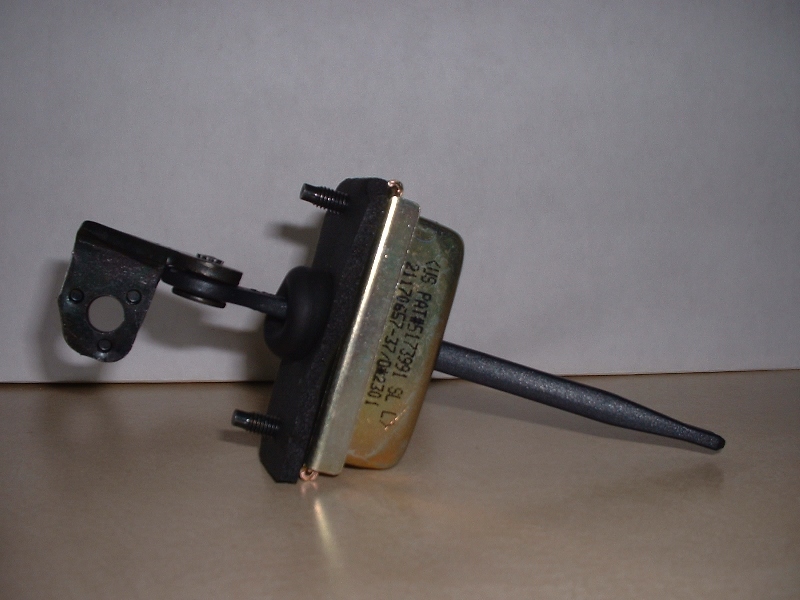
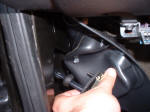
The door check is the piece that lies between the door’s
hinges and holds the door open at a couple places, keeping
it from blowing open & shut in the breeze. It looks like
this:

***Before I continue, let me say that I replaced my door
check because it was clunking whenever the door was
opened/closed. This may not be a good reason to replace it,
as I found out. The new part did not totally solve the
problem, though it was a bit quieter. The real problem, it
turned out, was that the metal on the door where the check
mounts is stressed, and buckles a bit and creaks. I will be
looking into reinforcing the mounting point.
Ok, back to replacing the door check.
For this
project, you will need:
- 10mm socket & ratchet (a short extension is nice, too).
Step 1)
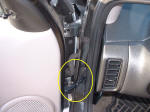
Lower Door Trim Removal (driver's
side or
passenger side)
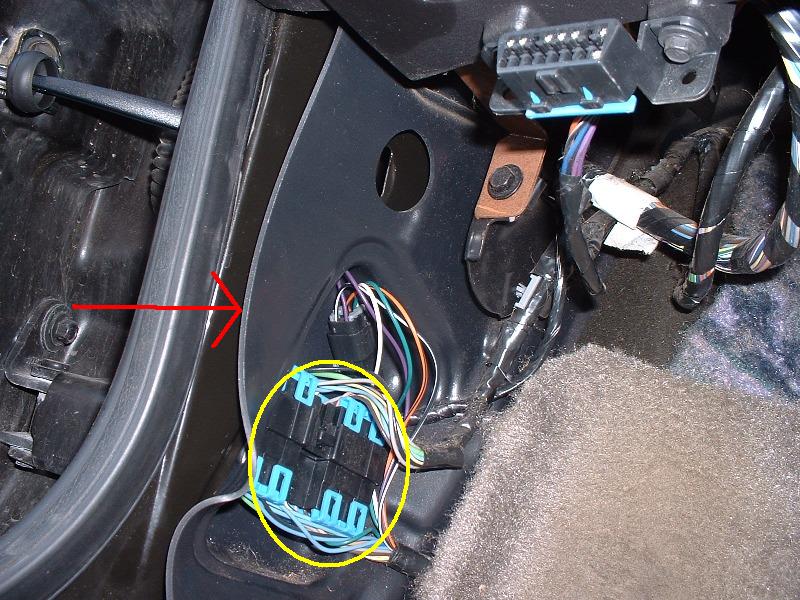
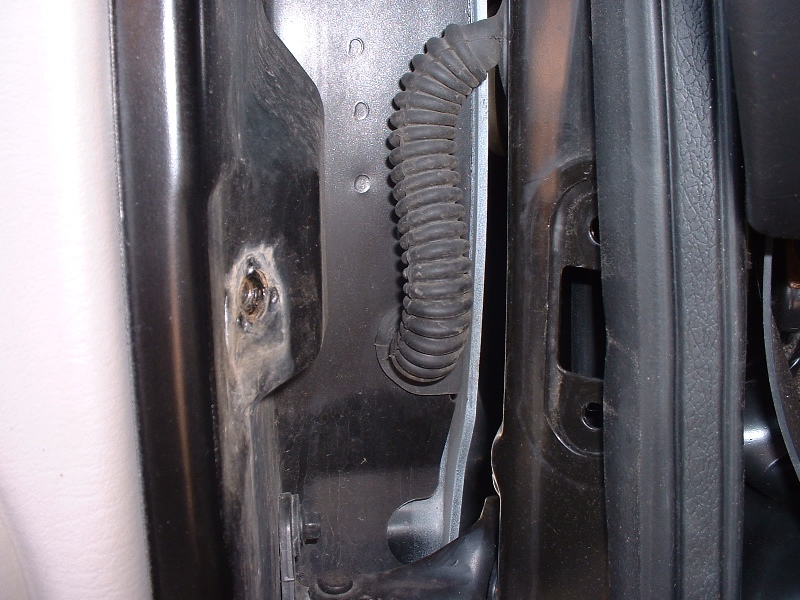
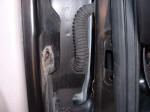
Once that trim is off, you’ll need to pull the rubber seal
out of the way of the hole you will need to work in. First,
remove the wiring harness from the rubber (yellow). Just
grab the harness and carefully pull out – it is just wedged
in there. Next, just grab at the edge of the rubber and pull
out gently, but firmly (red).

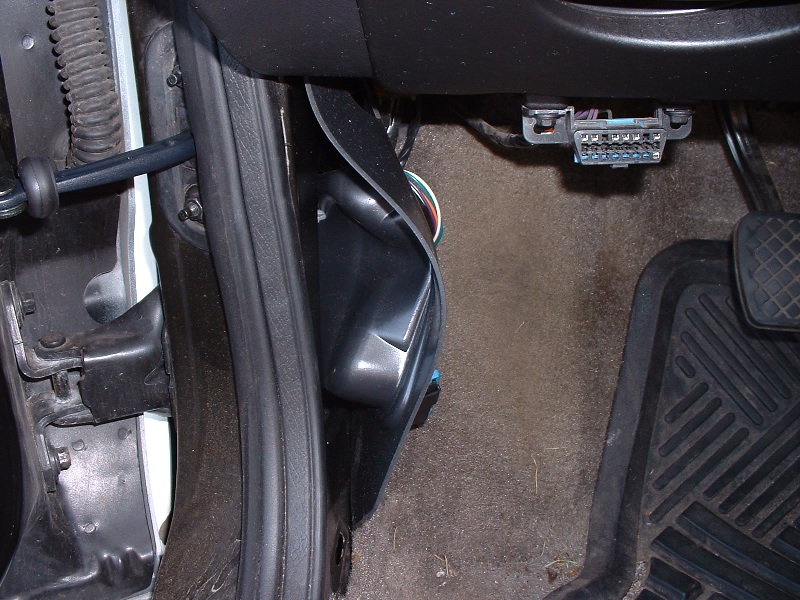
It will then look like this…

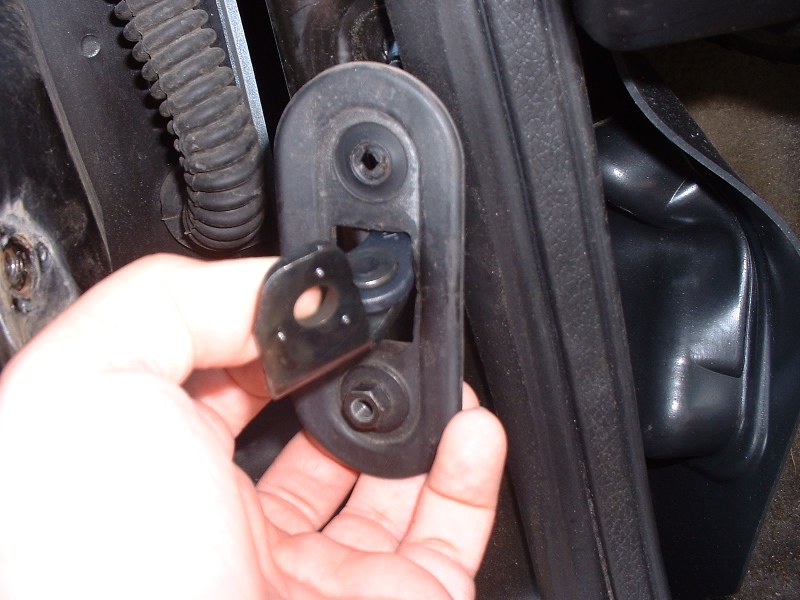
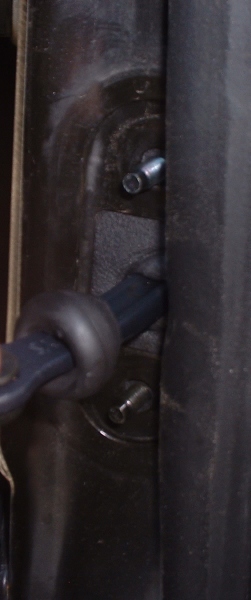
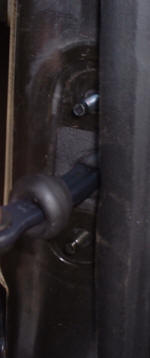
Now we’re ready to grab that 10mm socket & ratchet and
remove 2 nuts (red) & 1 bolt (yellow). The 2 nuts may stay
connected to the plate (green).

Next, slide off the plate. You can see in the picture that
my upper nut did not stay connected to the plate, but the
bottom one did. It appeared that they originally connected
the nuts to the plate on purpose, probably to prevent loss.

Here’s what it looks like with the plate removed.
Finally, slide the piece out the hole where the rubber piece
is.
Here is the now check-less door and frame.
Installation is opposite of removal. Hope this has helped!