|
|
(Click to return to the Guide Index)
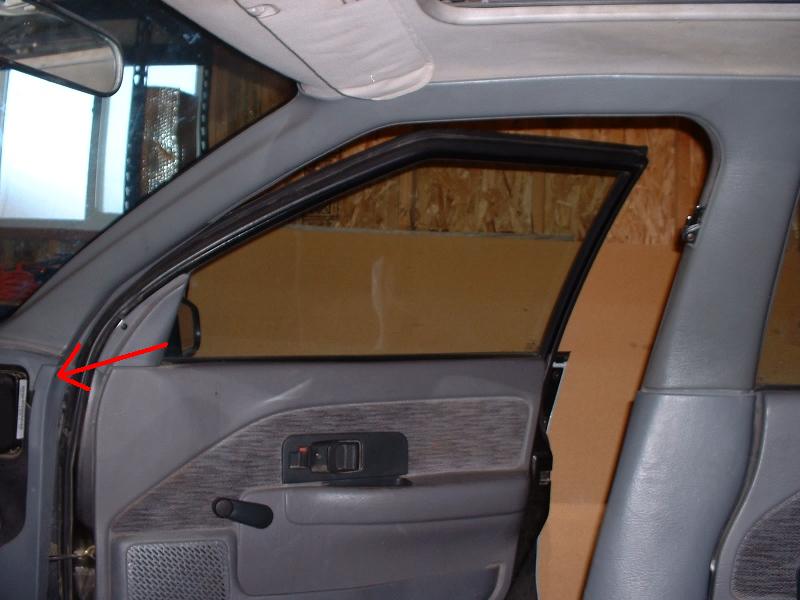
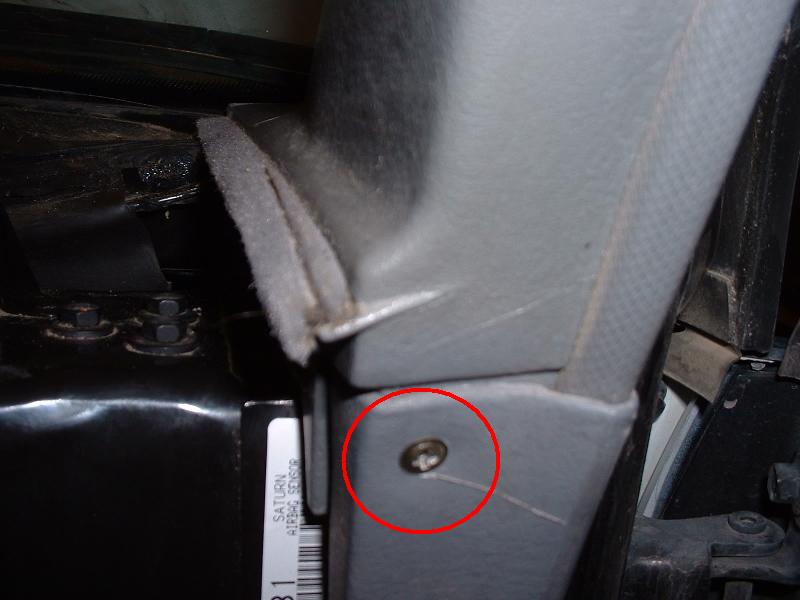
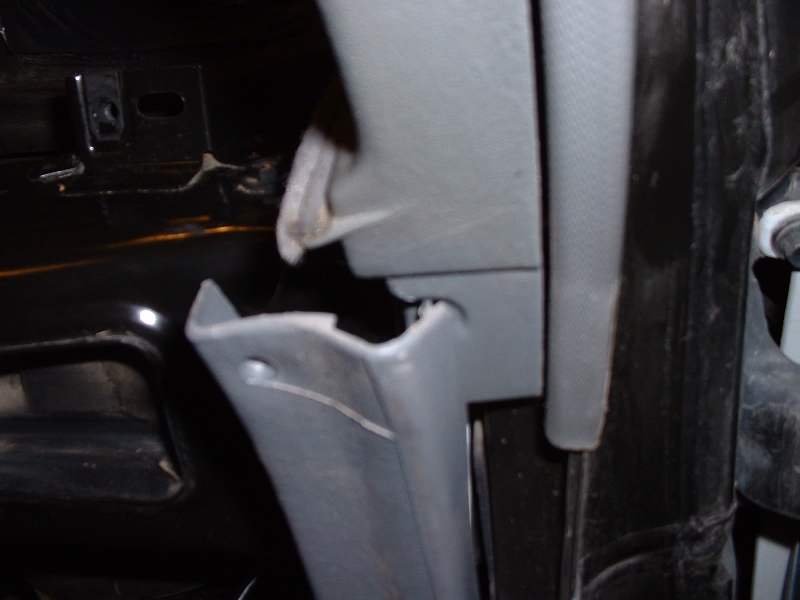
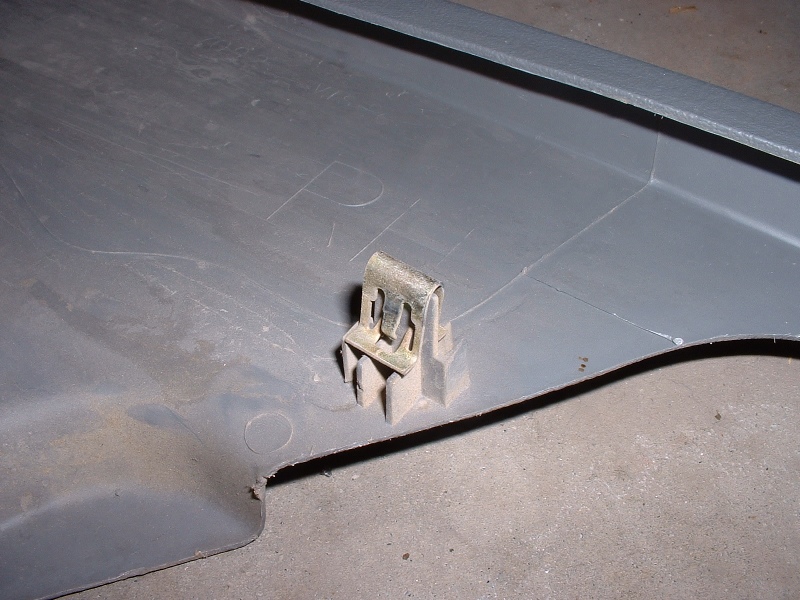
Remove / Install Interior Door Trim (Click here to return to Interior Door Trim Menu)
|
|
|
Hosting provided by Sixthsphere.com |
||
|
|
(Click to return to the Guide Index)
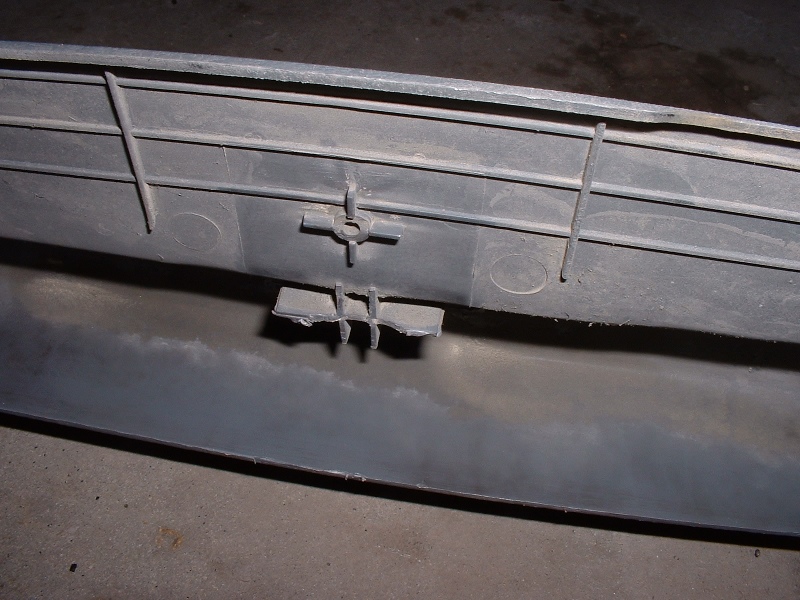
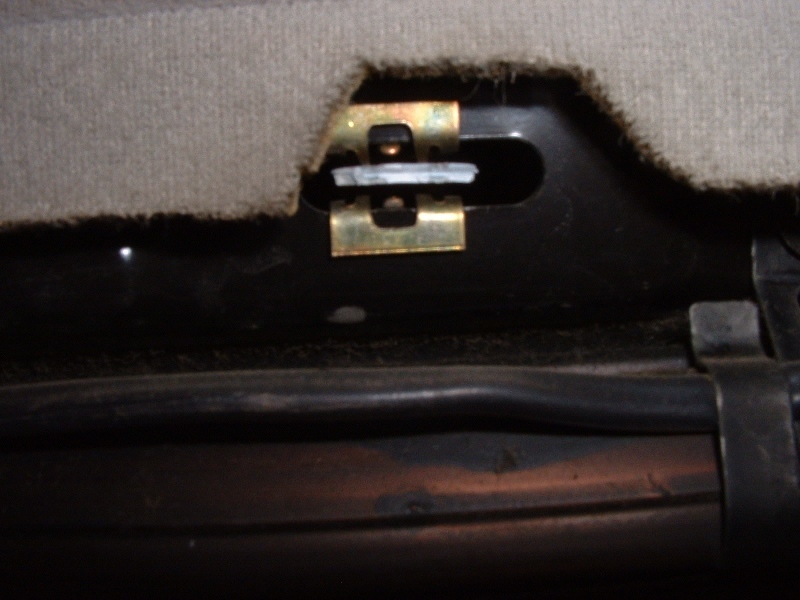
Remove / Install Interior Door Trim (Click here to return to Interior Door Trim Menu)
|
|
|
Hosting provided by Sixthsphere.com |
||