Needed:
Tools:
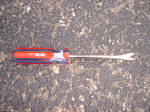
Small prying
device
Removal
Step 1:
Remove padded seat end trim.
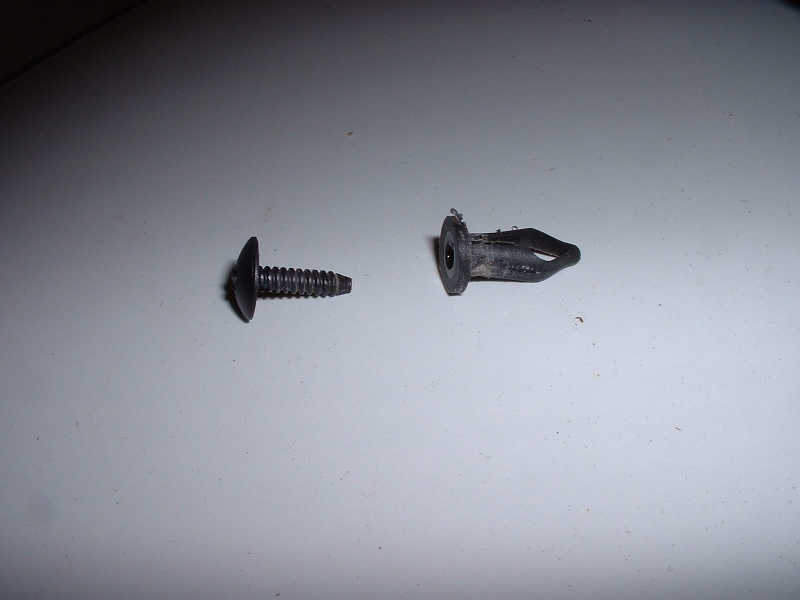
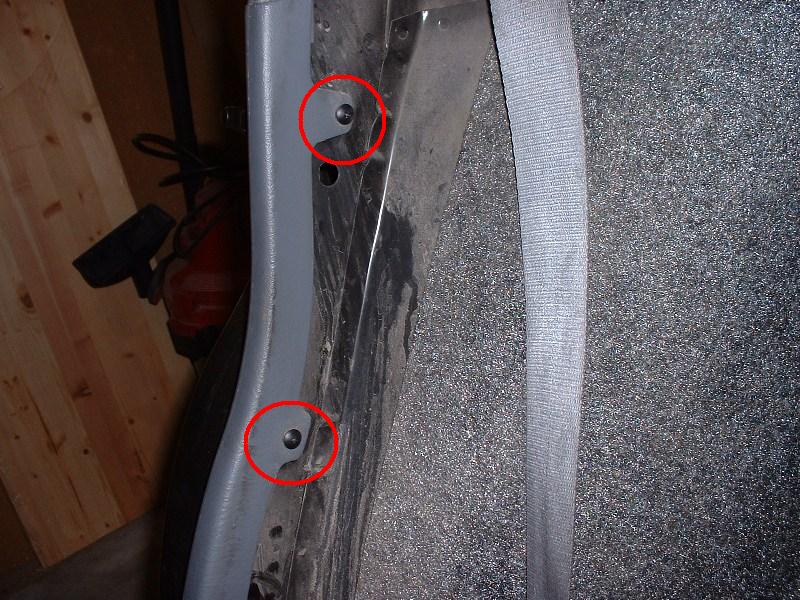
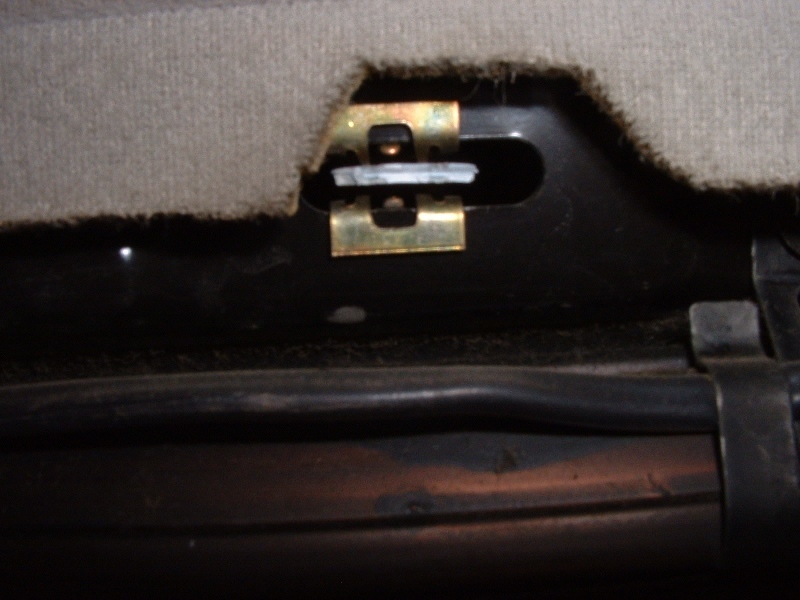
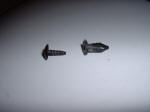
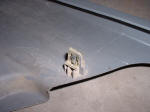
Step 2: Remove the
2 retainer pins at the top of the trim by the seatback.
These are two-piece retainers. Remove the top part of
the pin first, then the lower. The top part of the
clip looks like a philips screw, but it is not - it will
just spin & spin. A prying tool like the one shown
below is very helpful, though a small flathead screwdriver
could work, too.
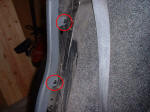
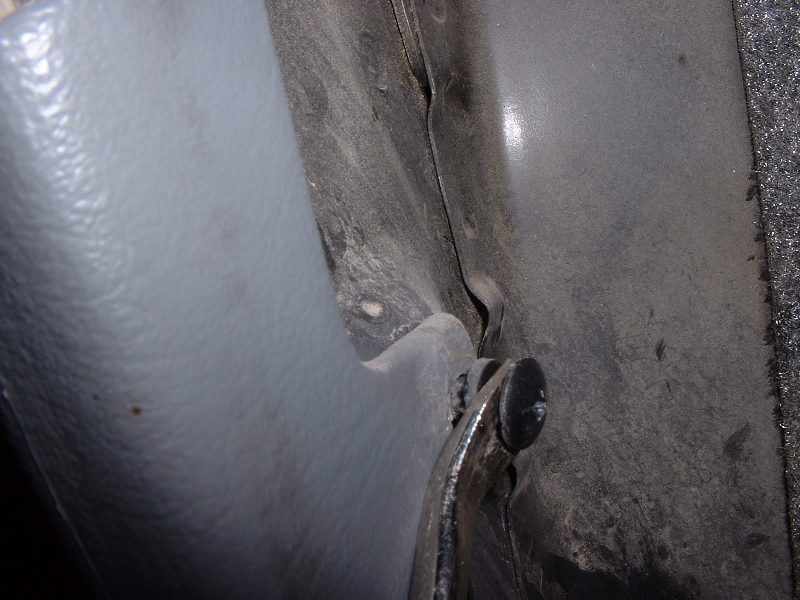
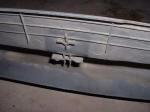
Get the prying tool in
between the two parts of the head of the retainer, as shown
below. 2nd picture shows the inner pin removed.
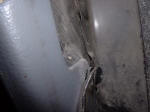
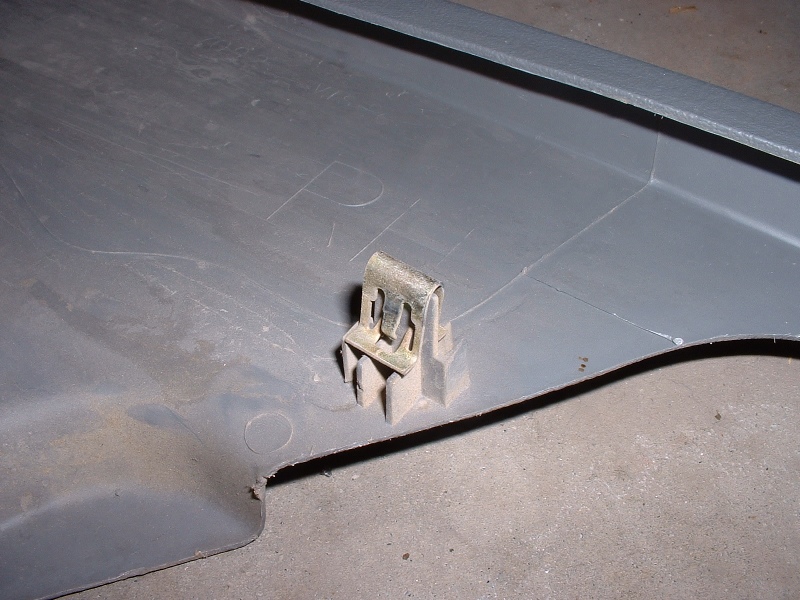
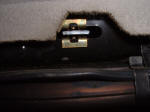
Step 3: Unclip trim
carefully. You will likely break off some clips,
unfortunately. To minimize this, use a small prying
tool and pry the trim outward as near to the clips as
possible. Sadly, some clips will likely still break.
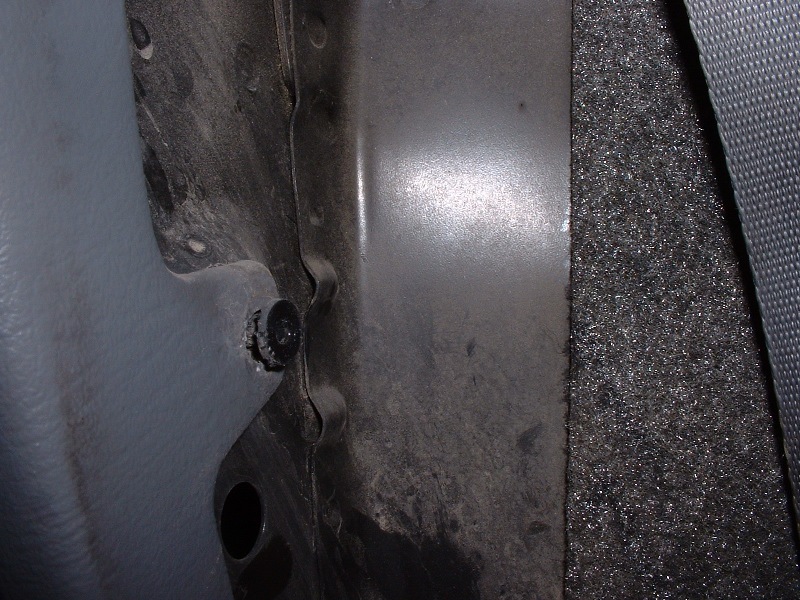
Good clip
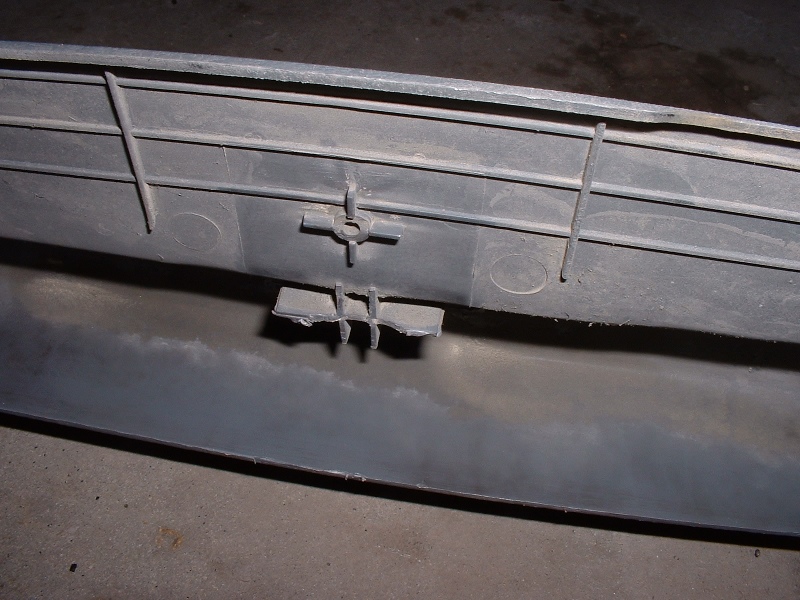
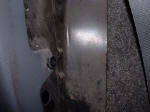
Broken clip
Broken clip left in
the car
Installation
Installation is the
reverse of removal.