|

(Click to return to the Guide
Index)
Remove / Install
Center Console
Guide Quick Jump:
'91-'94
S-Series '95-'99
S-Series
'00-02 S-Series
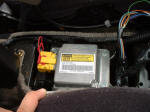
CAUTION!
Inside the
center console is the airbag system's inertia switch, which
detects changes in the car's motion.
Hitting this box
could result in the airbags going off. While
you can just try to be careful when working under the center
console, I recommend
disabling the airbags whenever working
near the switch. You shouldn't need to disable them to
remove the console, but should consider it for work done
with the console removed.

'91-'94 S-Series
Author:
PurdueGuy
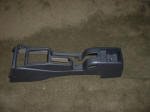
(Note:
sorry the console is so gross in these pictures - these were
taken as I was taking the interior apart to clean it up)
Needed:
Tools:
Flat-head screwdriver
Phillips screwdriver
Removal
Step 1:
Remove Center
Armrest (if installed) or 2 screws at the rear of the
console. The same screws are used to hold down the
console and to hold down the armrest - 2 philips screws.
Step 2:
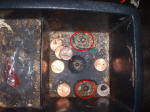
Remove the
Power Window Switch (if applicable). If you have
manual windows, I think you can just leave the little tray
in.
Step 3: Remove screws at the
front of the console. To get at the screws, you'll pop
the little black piece from in front of the fuse box on the
passenger side (just grab & pull from the top), and the same piece on the drivers side.
There is one phillips screw on each side.
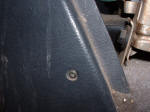
Step 4: Remove ash
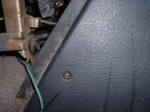
tray. It lifts right out
Step 5: Unclip ash
tray light. This thing holds on tight, but should unclip
when pushed downward.
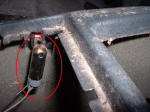
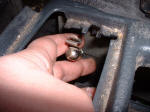
Step 6: Remove the
cover in the lower center part of the console. Lift from
the e-brake handle end. 2 clips will pop loose.
Step 7:
Remove the
gear selector handle (auto trans), or the
shift boot (manual trans).
Step 8: Pop the
seatbelt guides loose. You can get these loose from the
outside if you can get a screwdriver in behind the top of
the guide, or you can lift the console up some to get
underneath and push the guide out from inside the console.
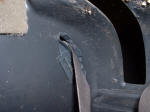
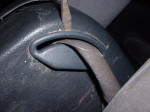
Step 9: Snake the
seatbelts and guides through their holes, and remove the
console.
Installation is
reverse of removal
'95-'99 S-Series
Author:
PurdueGuy
Needed:
Tools:
Flat-head screwdriver
or other prying tool
Phillips screwdriver
Removal
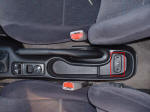
Step 1:
Remove Center
Armrest (if installed) or 2 screws at the rear of the
console. The same screws are used to hold down the
console and to hold down the armrest - 2 phillips screws.
You may have to pop a small plastic plate loose with your
flathead screwdriver to get to the screws.
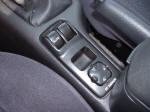
Step 2:
Remove the
Power Window Switch (if applicable). If you have
manual windows, I think you can just leave the little tray
in.
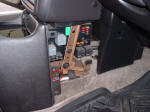
Step 3: Remove screws at the
front of the console. To get at the screws, you'll pop
the little black piece from in front of the fuse box on the
passenger side (just grab & pull from the end toward the
front of the car), and the same piece on the drivers side.
There is one phillips screw on each side.

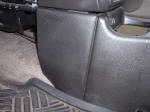
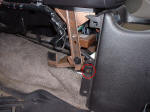
Step 4:
Remove / Install
Cupholders ('95-'99 Interior)

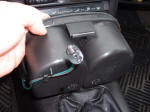
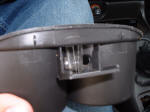
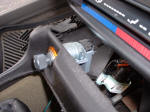
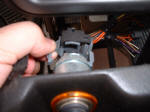
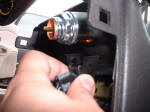
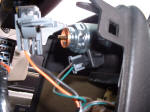
Step 5: Disconnect cigarette
lighter. You should be able to slide the console out a
bit for better access by now. There is a power plug
on the back, and a light on the bottom of the cigarette
lighter. Each just clips on, so use your prying tool
to pop them loose (or you may be able to do it with your
fingers).
Step 6: Remove the console.
It should be loose and free of all wires now.


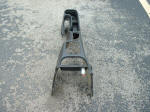
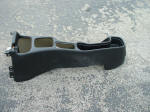
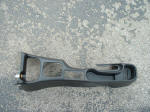
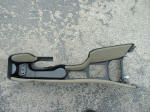
Installation is
reverse of removal
'00-'02 S-Series
Author:
(Sorry, this guide has not been created)
Click here to return to
the Guide Index.
|